Perfect Portrait Cutouts: 7 Tips for Removing Complex Backgrounds
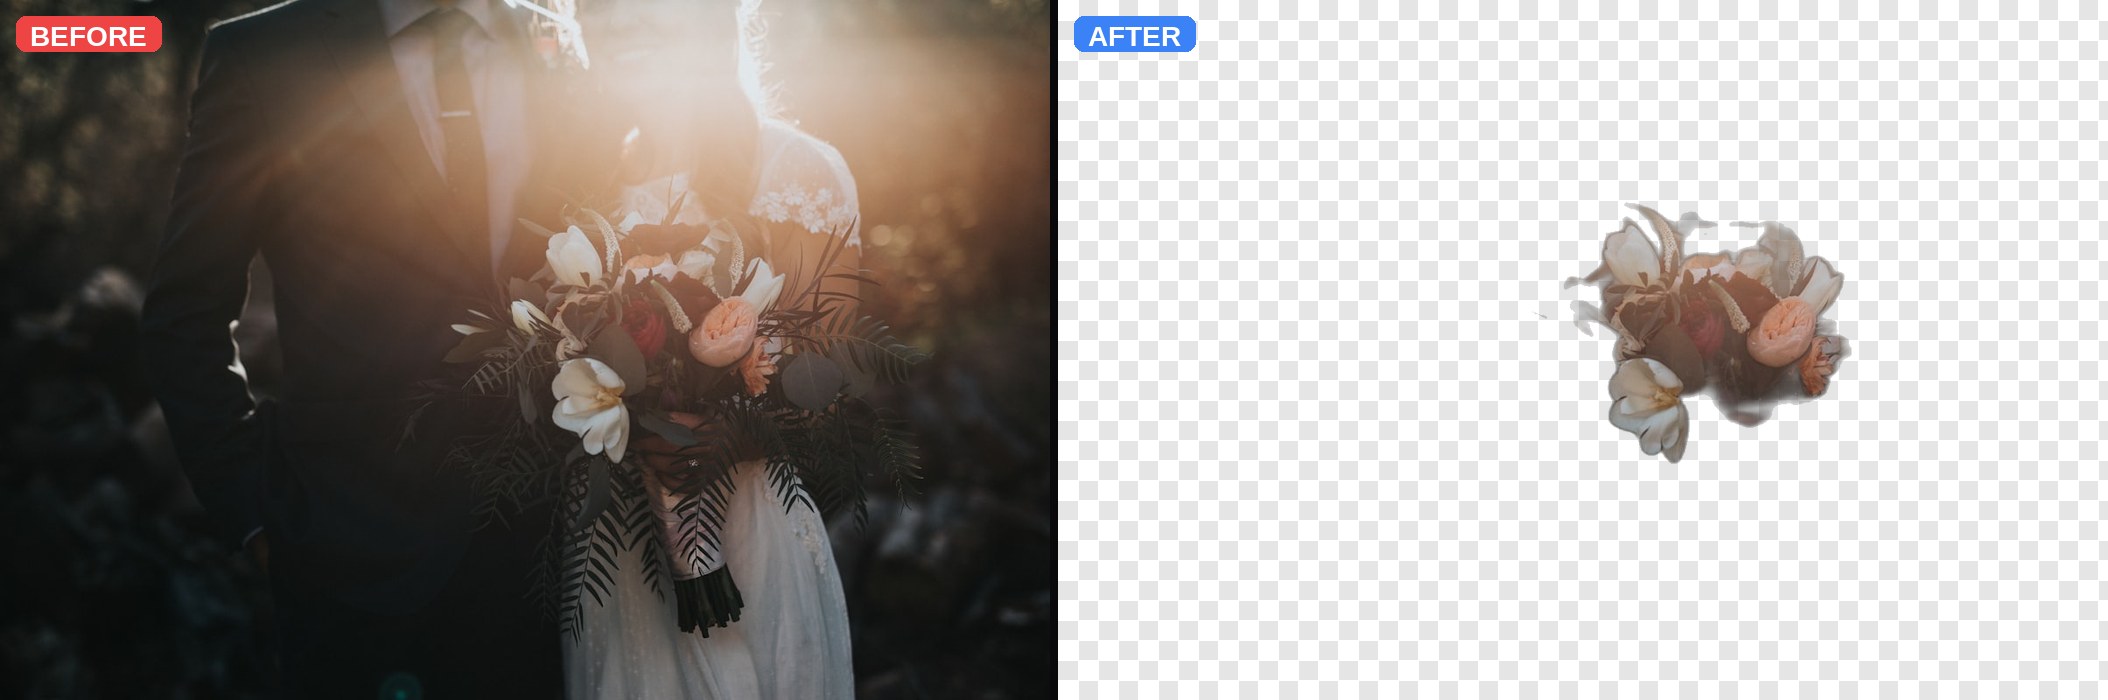
Cutting out a person on a plain wall is easy. Cutting out a family group in front of a wedding poster, or a woman in a flowing saree, or a child with wispy hair — that is where most background removers fail. Clearpic handles most of these automatically, and the manual editor covers the rest. Here are seven proven tips.
Tip 1: Start with the highest-resolution original you have
Never upload a compressed thumbnail. The AI needs pixel detail to distinguish a hair strand from the wall behind it. Aim for at least 1000px on the longest side.
Tip 2: Watch for busy backdrops with faces in them
Wedding photo booths, memorial posters, event walls with framed portraits — these confuse older models that treat any face shape as foreground. Clearpic's premium engine ignores them automatically.
Tip 3: Use Restore to paint back missed pieces
If the AI drops the flowing bottom of a saree or a small child's body, do not re-upload. Click Edit, switch to Restore, and paint over the missing area — the original pixels come right back.
Tip 4: Use Erase to clean stray fragments
Small colored blobs left near the subject? Switch to Erase and wipe them out. Reduce the brush to 20–30px for precision near edges.
Tip 5: For hair, zoom in and use small brush strokes
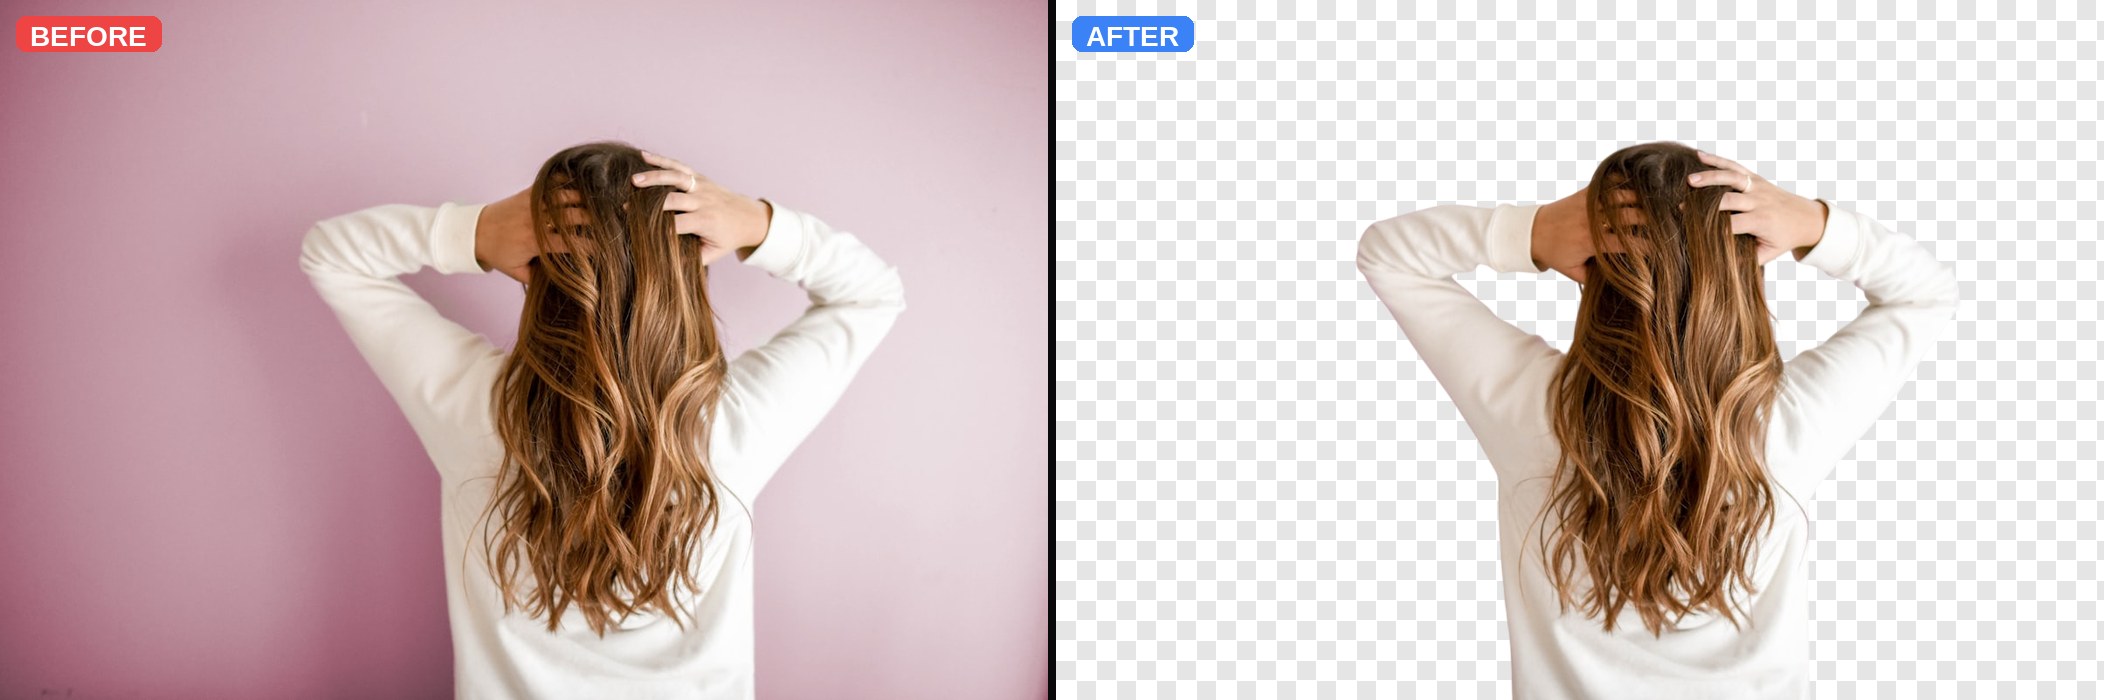
Wispy hair against a light background is fine; against a busy background, expect to spend 20 seconds in the editor. Use a 10–15px brush and short strokes.
Tip 6: Save the transparent PNG before adding a background
Always download the transparent version first. Then experiment with colors, gradients, or photo backdrops — you can always come back to the clean cutout.
Tip 7: Watch the edge on skin tones
If you see a faint colored halo around the subject, it is background color spill on the skin edge. Use Erase with a soft 20px brush to trim just the fringe — not the skin itself.
Try Clearpic now — free, no signup
Upload any photo and get a clean, background-free PNG in about a second.
Remove a background